Clipchamp is a video editing app that has been increasingly popular for its ease of use and powerful features. It’s suitable for both beginners and experienced users who want to create videos for various purposes, including social media, presentations, and personal projects.
Creating a New Project
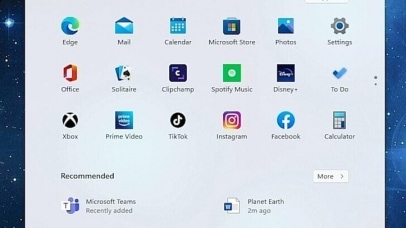
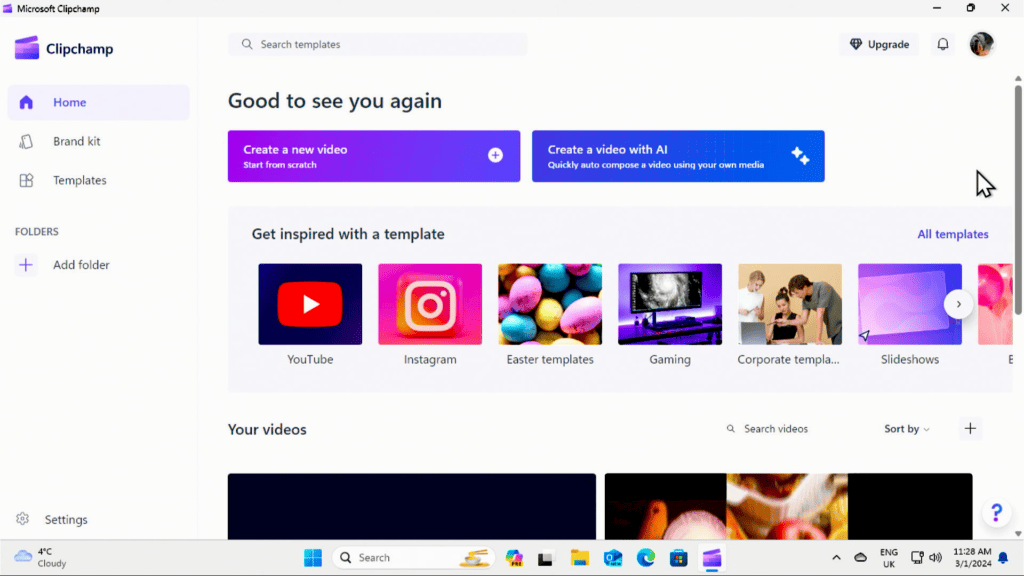
Open Clipchamp from your Start menu by scrolling through the app list or simply searching for it. When you launch the app for the first time, you’ll be prompted to sign in or create an account if you haven’t done so already.
After signing in, you’ll be greeted with the Clipchamp dashboard. Click on “Create a new Video” to initiate a new project. You may also see options to choose a template or start with a blank project; opting for a blank project gives you full creative control from the outset.
Navigating the Interface
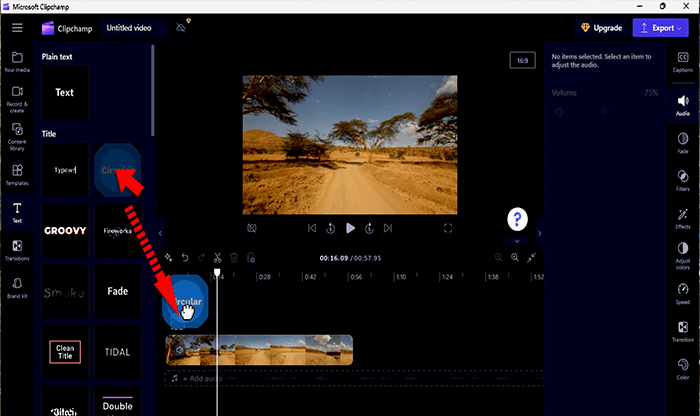
The Clipchamp interface is divided into several key areas.
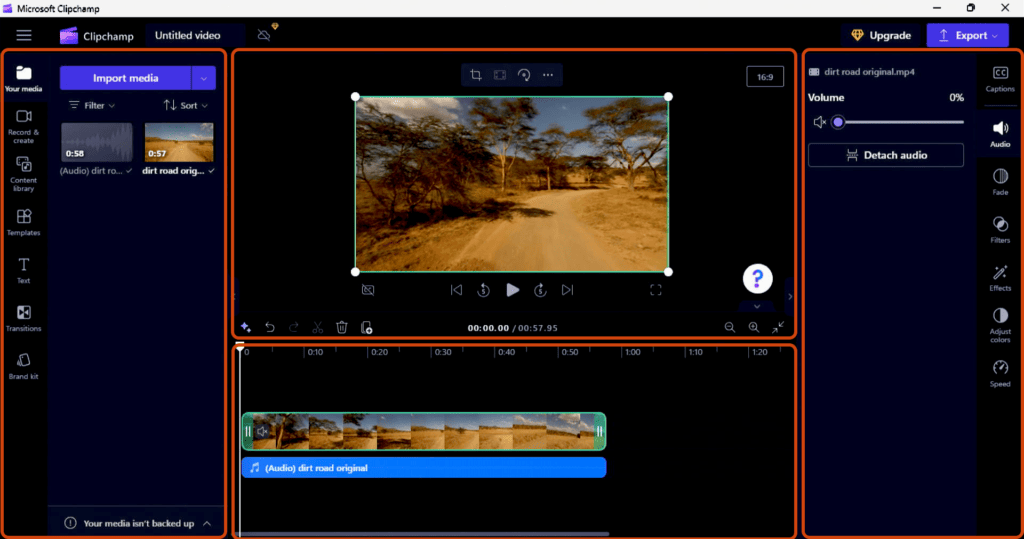
Let’s take a look at each area of the edit screen.
Navigation Menu (Left Side):
Your Media: This section stores all the media files you’ve imported for your project.
Record & Create: Tools for recording video or audio directly within the app are located here.
Content Library: Access to Clipchamp’s stock media library.
Templates: A collection of pre-made video templates.
Text: Tools for adding text overlays to your video.
Transitions: A list of transitions to add between clips.
Brand Kit: This might be a place to store and apply branding elements like logos, color schemes, and custom fonts.
Preview Pane (Top Center):
Toolbar: Contains tools to crop, fill content to screen, rotate media, and more options
Aspect Ratio Selection: You can choose the aspect ratio for your project (e.g., 16:9 for widescreen) on the far right of the preview pane.
Cloud Storage Status: An icon indicating whether your media is backed up to the cloud (not visible in the screenshot but typically present in such interfaces).
Export Button: Initiates the process to render and export your final video.
This is the large area showing the currently selected video clip or frame. You can preview your project here.
The white handles around the video indicate that you can resize or crop the clip.
Video Clip Information & Editing Tools (Right Side):
Clip Name: The name of the current video clip selected.
Volume Control: Adjust the volume or mute the selected clip.
Detach Audio: Separates the audio from the video clip, allowing you to edit them independently.
Captions: Add subtitles or captions to your video.
Audio: Tools for editing audio tracks.
Fade: Apply fade in/out effects to your audio.
Filters: Apply visual filters to enhance or change the look of your video.
Effects: Add special effects to your video clips.
Adjust Colors: Color correction and grading tools.
Speed: Control the playback speed of your clip.
Timeline (Bottom Center):
Audio Track: The green bar indicates the audio track associated with your video, which you can edit separately.
Video Track: The blue bar represents the video track where you can trim, split, and arrange your video clips.
Playhead: The vertical line with a time indicator that shows the current position in the video.
Editing Your Video
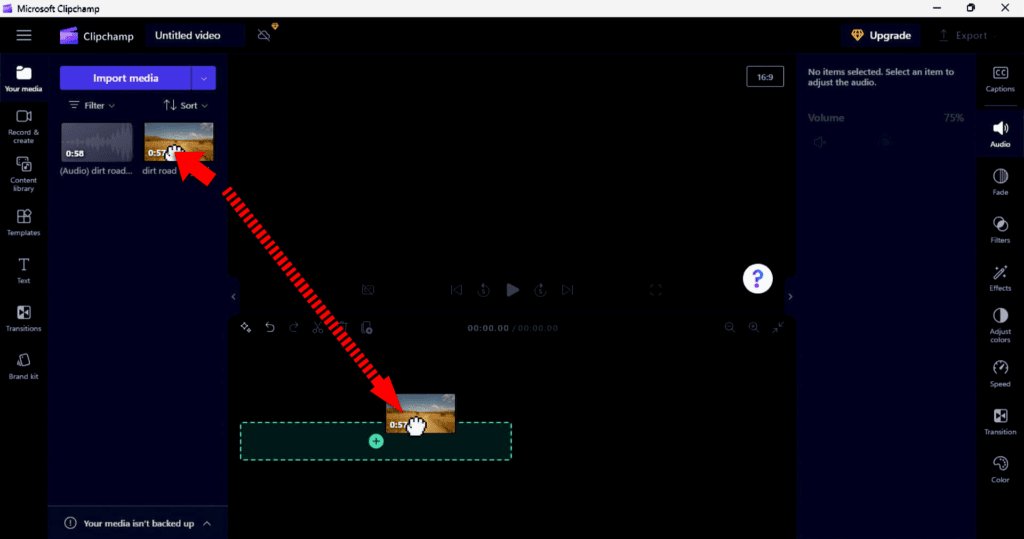
- Import Media: Click the “Import Media” button in your Media Library to upload files from your computer. Alternatively, explore Clipchamp’s stock media for additional content.
- Timeline Editing:
- Add Clips: Drag files from your Media Library to the timeline to begin assembling your video.
-
- Trim and Split: Select a clip on the timeline for trimming and splitting. Use the handles at the clip’s edges to trim the beginning or end of the clips. To split a clip, place the playhead where you want to split the clip, then click the scissors icon from the small toolbar just above the timeline.
- Transitions and Effects: Select the ‘transitions’ tab from the navigation menu on the left hand side. Drag a transition between clips or an effect onto a clip to apply it.
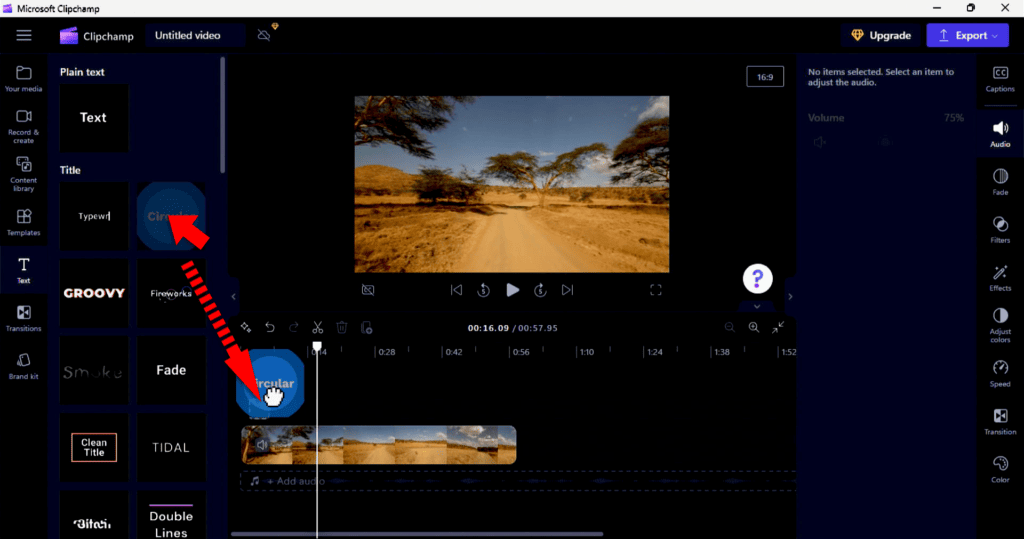
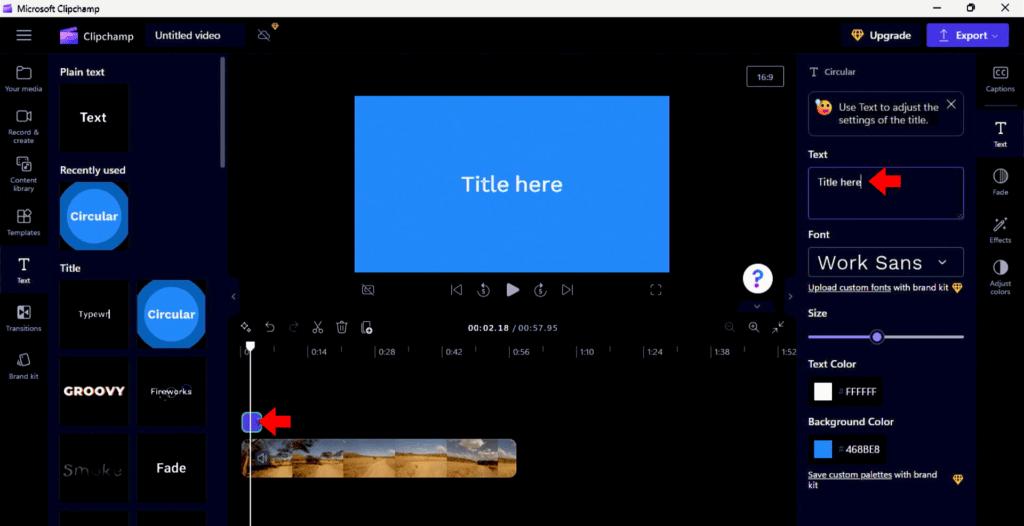
- Text Overlays: Add text by selecting a style from the ‘text’ tab on the navigation menu, then drag a text overlay onto your timeline.
-
- Click the text box on the timeline, then use the panel on the right to customize the text.
Exporting Your Video
- Reviewing Your Project: Before exporting, play back your entire video in the Preview Pane to ensure everything looks and sounds as expected. Make any final adjustments as needed.
- Export Settings: Click on the “Export” button on the top right and choose your desired resolution (480p, 720p, 1080p). Choose 1080p for full HD quality.
- Downloading and Sharing: After processing, you can download the video file to your computer or use Clipchamp’s sharing options to publish your video directly to various platforms like YouTube, Facebook, or Google Drive.
Further Reading
For more information on the topics discussed, have a look at the following book
-
Original price was: £26.99.£23.99Current price is: £23.99. Buy now
Exploring Windows 11: 2024 Edition
Kevin Wilson