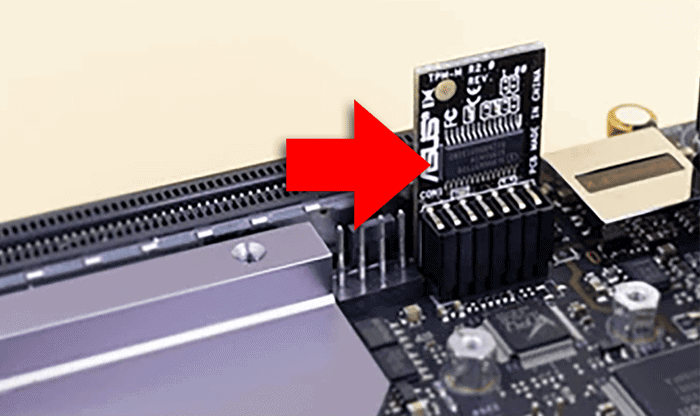
Many Windows 10 users, especially those with custom-built desktops or systems manufactured before 2017, face upgrade barriers due to hardware components that are not compatible with Windows 11. Common issues include the lack of a TPM 2.0 module, an unsupported CPU, or Secure Boot being disabled by default in the system firmware. As a result, when attempting to install or upgrade to Windows 11, users may encounter the error message: “This PC can’t run Windows 11.”
Despite these challenges, it’s possible to proceed with the installation through a few workarounds, but before we do this it’s worth noting the risks of installing Windows 11 on unsupported hardware:
- Your system will not be officially supported by Microsoft, so no warranty or support.
- No guaranteed security or feature updates.
- Possible instability or driver compatibility issues.
First, always make sure all your documents, photos, music and any other important information you have on your PC is backed up to an external hard drive or cloud storage such as OneDrive or Google Drive.
Download Windows 11 ISO
Go to the official Microsoft site: https://www.microsoft.com/software-download/windows11. Scroll down the page to the “download windows 11 disk image” section. Select the Windows 11 version, then click ‘download now’ at the bottom. Select your language, then click ‘confirm’. The download will take a while as it is large.

Create a Registry Bypass Key
Before running the installer, apply the following registry edits. Press Win + R, type regedit, then press Enter. Registry Editor must be run as Administrator. Navigate to the following:
HKEY_LOCAL_MACHINE\SYSTEM\Setup
Right-click “Setup” in the left panel. From the menu, select “New”. Then click on “Key”. Give the key the following name:
LabConfig
Inside the LabConfig key, create the following DWORD (32-bit) values:
BypassTPMCheck = 1
BypassSecureBootCheck = 1
You can also set these options if you have trouble
BypassRAMCheck = 1
BypassCPUCheck = 1
BypassStorageCheck = 1
Install Windows 11
Once the ISO has finished downloading, open File explorer, navigate to the downloads folder, right-click on the ISO. From the popup menu select ‘mount’.
Open the mounted virtual drive, then double-click setup.exe, then run through the installer.
During setup, if prompted, choose ‘Keep personal files and apps’ to perform an in-place upgrade. This is to keep your personal files and apps.
Further Reading
For more information on the topics discussed, have a look at the following book:
-
Original price was: £29.99.£23.99Current price is: £23.99. Buy now
Exploring Windows 11: 2025 Edition
Kevin Wilson -
Original price was: £24.99.£19.99Current price is: £19.99. Buy now
Windows 11 for Seniors – 2024 Edition
Kevin Wilson -
Original price was: £24.99.£19.99Current price is: £19.99. Buy now
Exploring Windows 10: May 2020 Edition
Kevin Wilson