Whenever you buy a new external hard drive or flash drive, you should first format it for macOS. Similarly, if you want to prepare an old drive for reuse. Use with caution as the process of formatting erases all existing data on the drive. Before you format the drive, you should consider compatibility and the file system you’re going to need on the drive. If you’re only using the drive on Mac computers, then you can use APFS or HFS file systems. If you want to use the drive on multiple operating systems such as Windows or Linux as well as MacOS, then choose exFAT. To format the drive, plug it into a free USB port on your Mac.
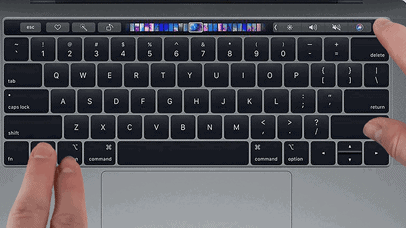
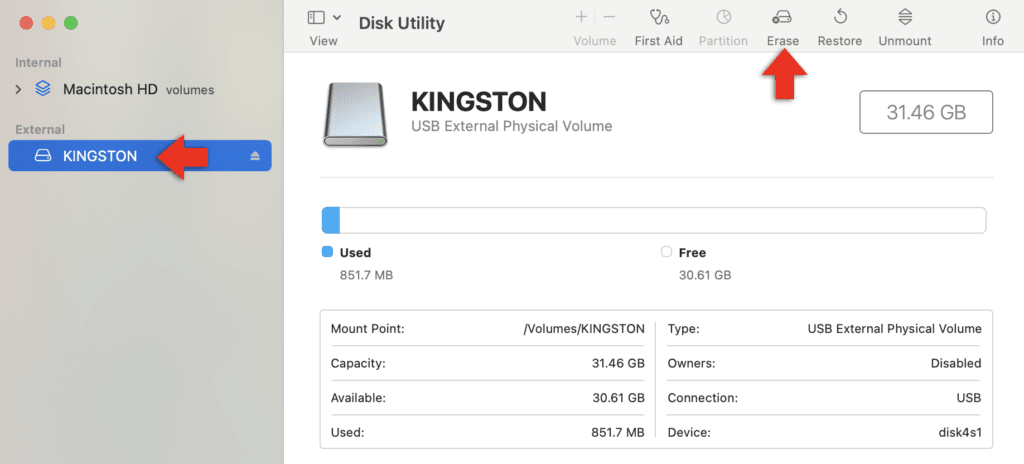
Open Spotlight Search by pressing Command + Space, then type Disk Utility and press Enter. In Disk Utility window, you will see a list of drives in the panel on the left-hand side. Locate your external hard drive and click on it. Ensure you select the correct drive to avoid data loss on other disks. Click Erase on the toolbar along the top of the window.
In the dialog box that appears, enter a name for the drive in the Name field.
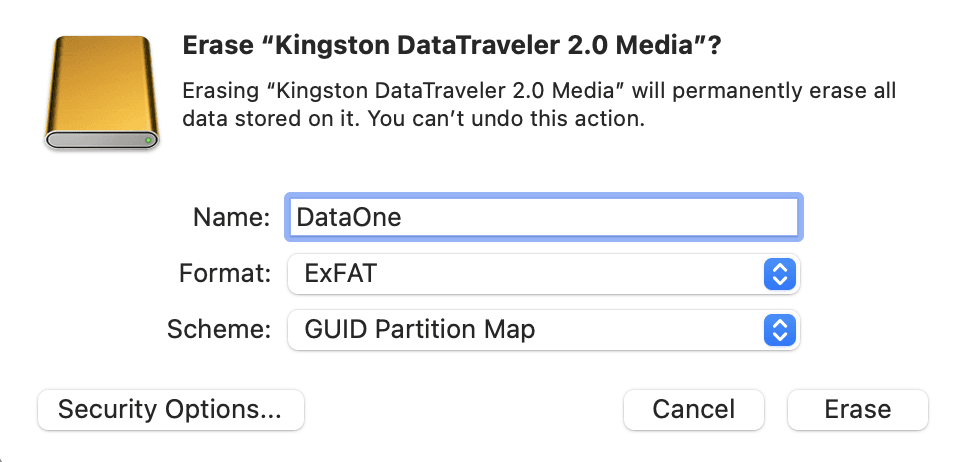
In the Format field, select a file system depending on what you intend to use the drive for
- APFS is best for macOS-only drives and internal drives.
- Mac OS Extended (Journaled) is used when you need compatibility with older macOS versions.
- exFAT is best for multiple platforms such as macOS, Windows, and Linux.
In the Scheme field, choose the GUID Partition Map as the Scheme for macOS compatibility. Most of the time you won’t need to use Security Options, however in certain cases you might need to. This is useful if you are reformatting a drive containing sensitive information and you want to ensure that data cannot be recovered.
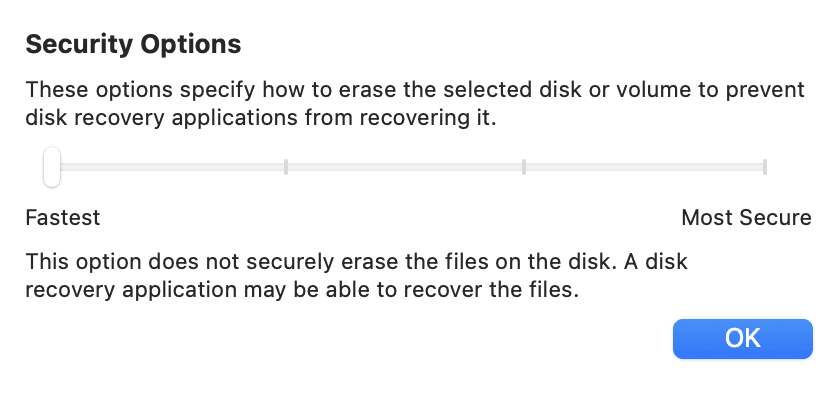
Using the slider, you can choose from four levels of security.
The Fastest (Low Security) option is the quickest way to erase a drive. This method deletes the file system metadata, including the allocation table or directory structure that tracks the locations of files. This effectively removes the “pointers” to your data, making the files inaccessible through normal means. However, the underlying data remains intact on the disk until it is overwritten. Because of this, the data can still be recovered using specialized data recovery tools. This method is suitable for drives that do not contain sensitive information or when a quick reformat is needed for reuse.
The Second Level (Single-Pass Overwrite) provides more security by writing a single pass of random data across the entire drive. This process replaces all existing data with random information, significantly reducing the likelihood of data recovery. Writing random data instead of just zeros ensures better security by eliminating patterns in the underlying data. While this method is not tied to any specific formal standard, it balances speed and security effectively. It is appropriate for general cases where the drive’s data is not highly sensitive but should not be easily recoverable.
The Third Level (Three-Pass Overwrite) enhances security by overwriting the entire drive three times with a combination of specific patterns. The process involves writing zeros on the first pass, ones on the second pass, and random data on the third pass. This method is highly effective at preventing most data recovery attempts and is ideal for drives containing sensitive or private information, such as personal documents or moderately confidential files.
The Most Secure (Seven-Pass Overwrite) option is the most thorough and time-consuming method, overwriting the drive seven times with a variety of patterns, primarily random data. This method ensures that no residual traces of the original data can be recovered, even with the most advanced forensic tools. It is suitable for drives containing highly sensitive information, such as financial data, trade secrets, or classified business materials, where complete destruction of the data is critical.
Click Erase to begin reformatting.
Further Reading
For more information on the subject, have a look at the following book:
- Original price was: £24.99.£19.99Current price is: £19.99.Buy now
Exploring Apple Mac: MacOS Sequoia Edition
Kevin Wilson

