Empty rows in spreadsheets are a common occurrence and can arise from various sources and practices in data management. Whether it’s through importing data from external sources, manual data entry errors, specific steps in data processing and cleaning, or even the intentional use of templates designed with spacing in mind, these empty rows often find their way into Excel sheets. While sometimes they serve a purpose, like reserving space for future data entries, more often than not, they can disrupt the flow of data analysis and need to be identified and managed appropriately. Understanding the origin and impact of these empty rows is crucial for effective spreadsheet management and ensuring accurate and efficient data handling.
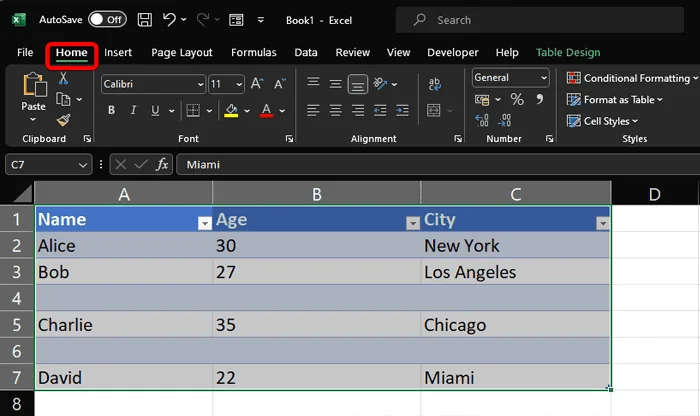
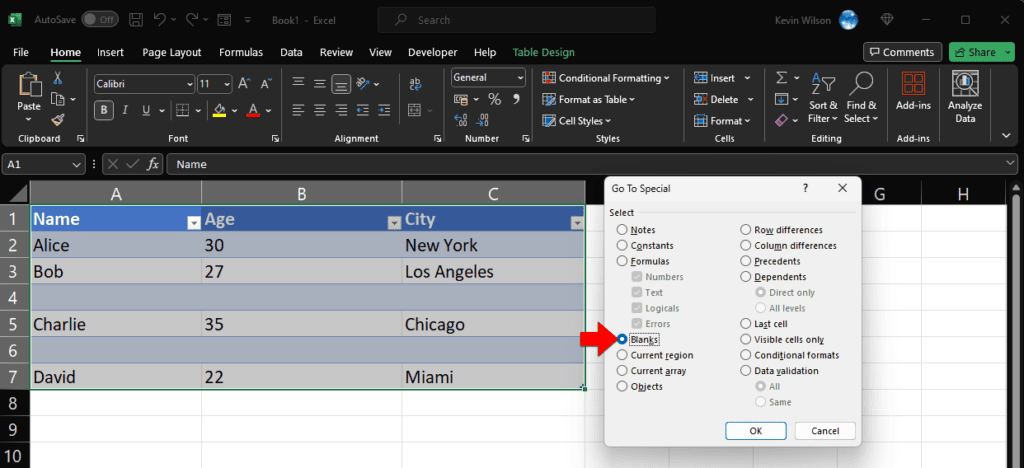
To delete multiple rows in an excel sheet, first select the range of cells or the entire sheet. If you want to delete empty rows in a specific range, select that range (eg A1:C7). If you want to use the entire sheet, click on the square between the row numbers and column letters to select the whole sheet.
From the “home” ribbon tab, click “find & select'”. Select “go to special” from the drop down menu.
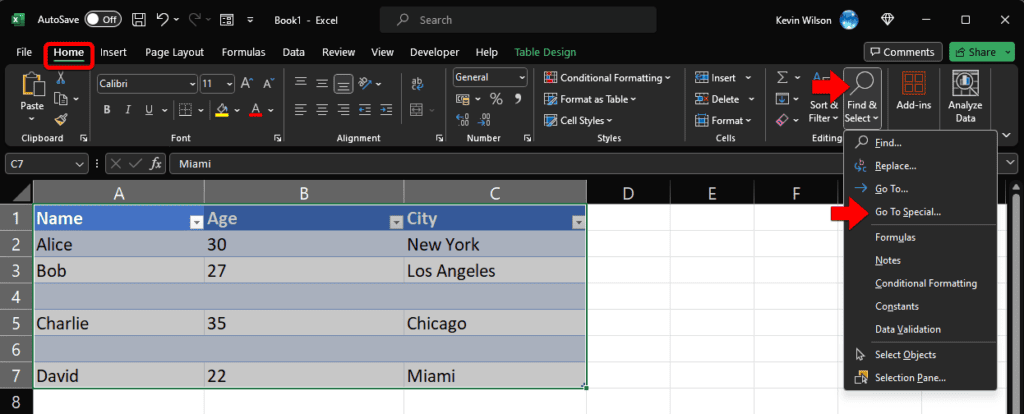
In the “Go To Special” dialog box, select “Blanks.” This will highlight all the blank cells in the selected range or sheet.
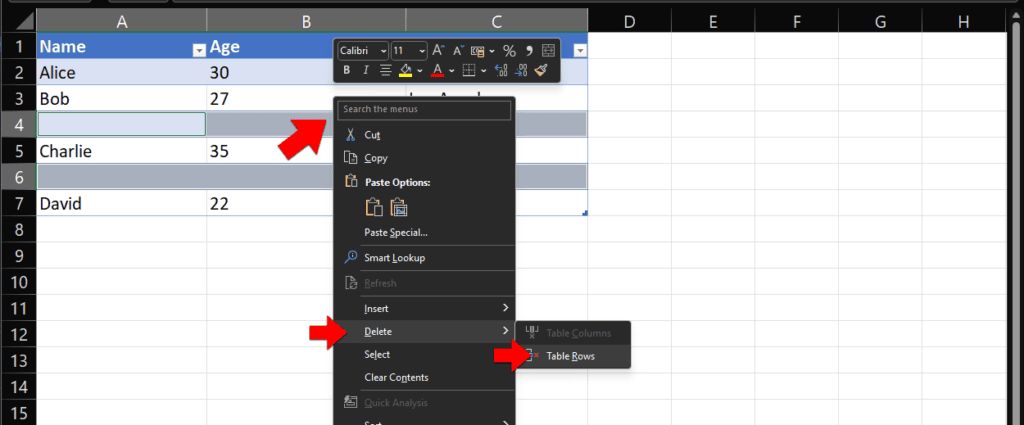
Right-click on one of the highlighted blank cells. Go down to “Delete” from the context menu, and then select “Table Rows.” This will delete all the rows that contain blank cells.
Further Reading
For more information on the topics discussed, have a look at the following book
- Original price was: £24.99.£16.99Current price is: £16.99.Buy now
Using Microsoft Excel – 2023 Edition
Kevin Wilson