Sometimes, the touchpad on your Windows 11 laptop can interfere when you’re typing, and if you primarily use an external mouse, you might want to disable the touchpad for convenience. Let’s go through the steps to disable the touchpad in Windows 11.
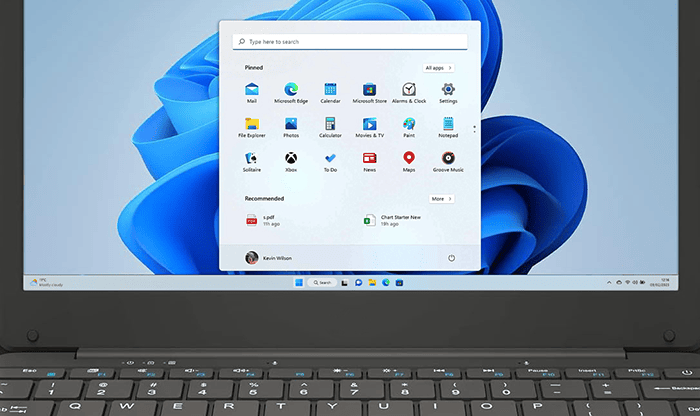
- Click on the Start Menu: Open the Start Menu by clicking the Windows icon on the taskbar or pressing the Windows key on your keyboard.
- Open the Settings app: From the Start Menu, click on Settings. Alternatively, you can press Windows + I to open the Settings directly.
- Navigate to Bluetooth & devices: In the Settings window, select Bluetooth & devices from the left sidebar.
- Select Touchpad: Scroll down and click on Touchpad to access the touchpad settings.
- Turn off the Touchpad: You’ll see a toggle switch labeled “Touchpad.” Click the switch to turn it off. This will disable the touchpad on your laptop.
Now, your touchpad is disabled, and it won’t interfere with your typing or mouse usage. You can enable it anytime by following the same steps and switching the toggle back on.


